


Introduction to Naas.ai
Naas (Notebooks as a service) is a low-code open-source data & AI platform that empowers anyone working with data (analysts, scientists, and engineers) to create powerful data solutions combining automation, analytics, and AI from the comfort of their Jupyter notebooks utilizing the power of low-code formulas and microservices.
To make the life cycle simpler yet more powerful you can choose from a set of pre-built templates that perform a particular task and are free to modify them as per the use case. You could find a list of all the templates available (currently more than 600)👇
https://github.com/jupyter-naas/awesome-notebooks/
All these notebooks follow a particular flow i.e. IMO framework. Meaning it follows the Input-Model-Output format where we take the input initially, perform functions on the inputs based on the desired task and then produce the output based on the model. This makes every template easily understandable and gives it a structure that makes it easy to play around and debug code.
Today we are going to utilize one of the templates that are used to send notifications for new recurring events created using Google Calendar. So whenever the event approaches be it any frequency we shall send an SMS to the user to remind them about the event. Though a calendar sends us notifications you need to be online to receive the notifications. Hence sending event notifications through SMS will be to the rescue. With this context let's set up the Twilio account.
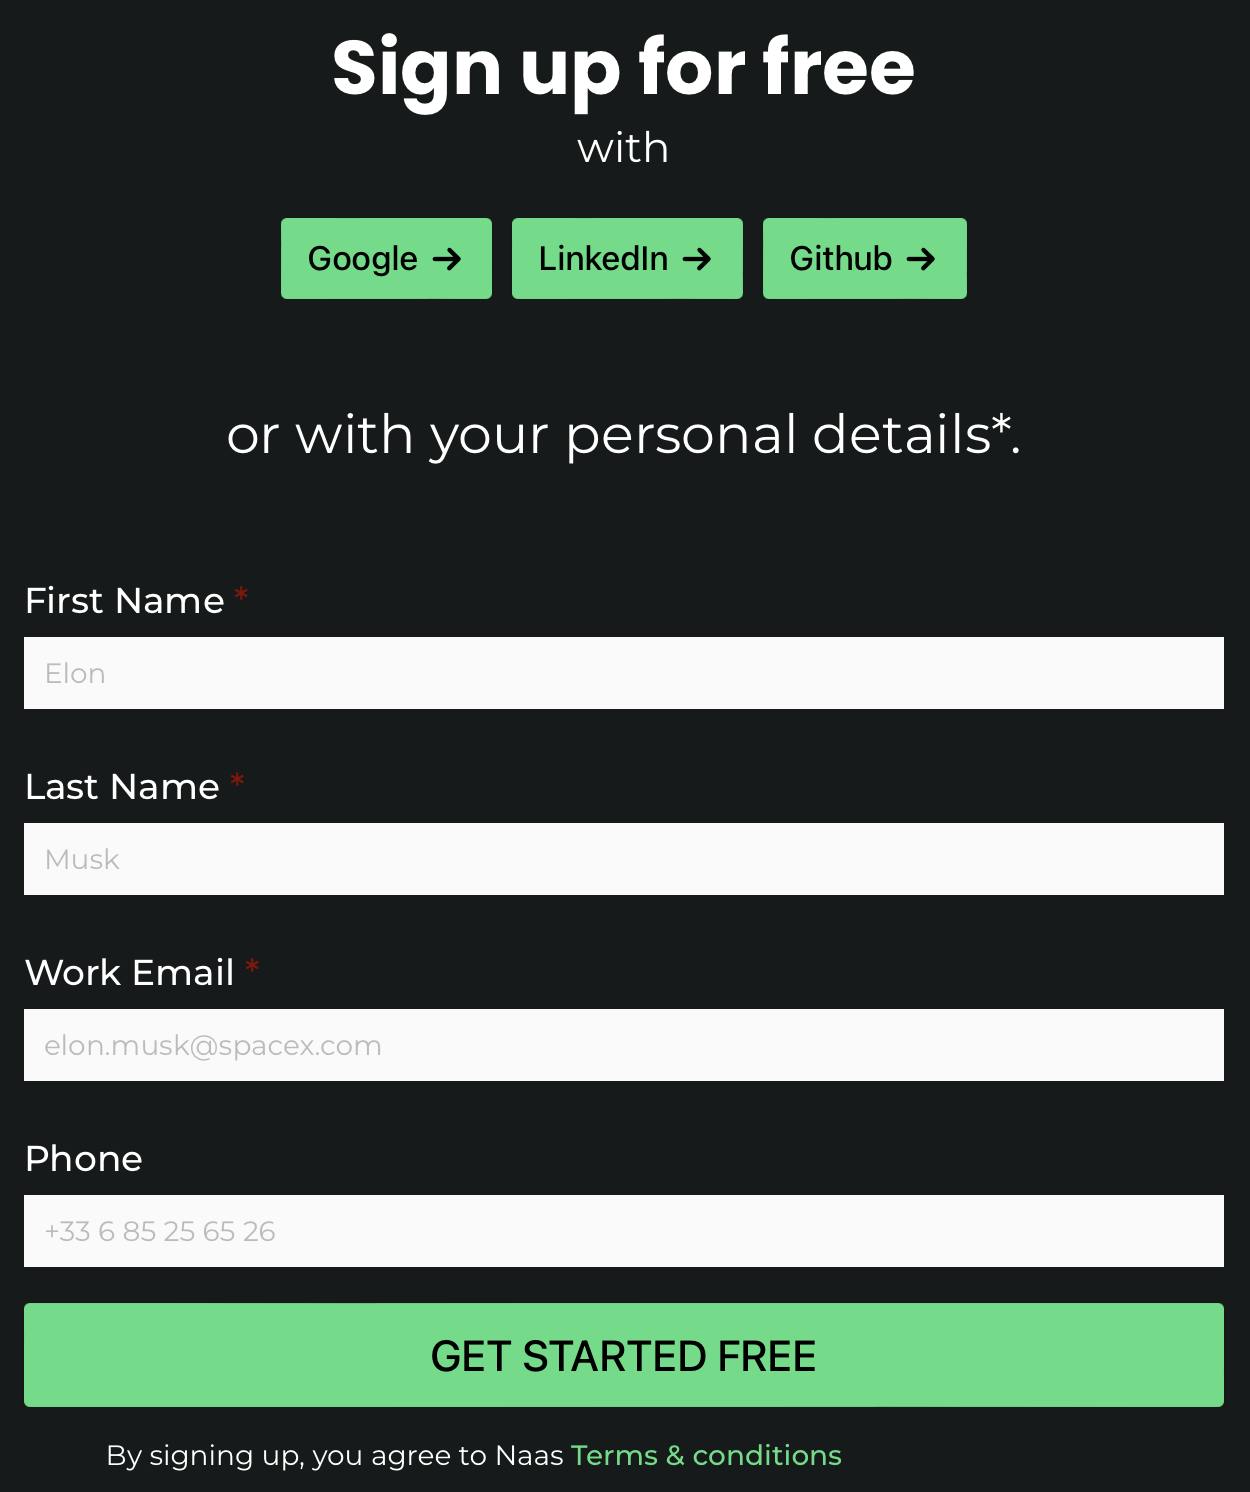
Setup Naas Account
Head to http://naas.ai/free-forever and sign up for a new account. You will be provided with 100 credits per month to work on the Naas platform.
Then create a new notebook by clicking the
+icon in the top-left corner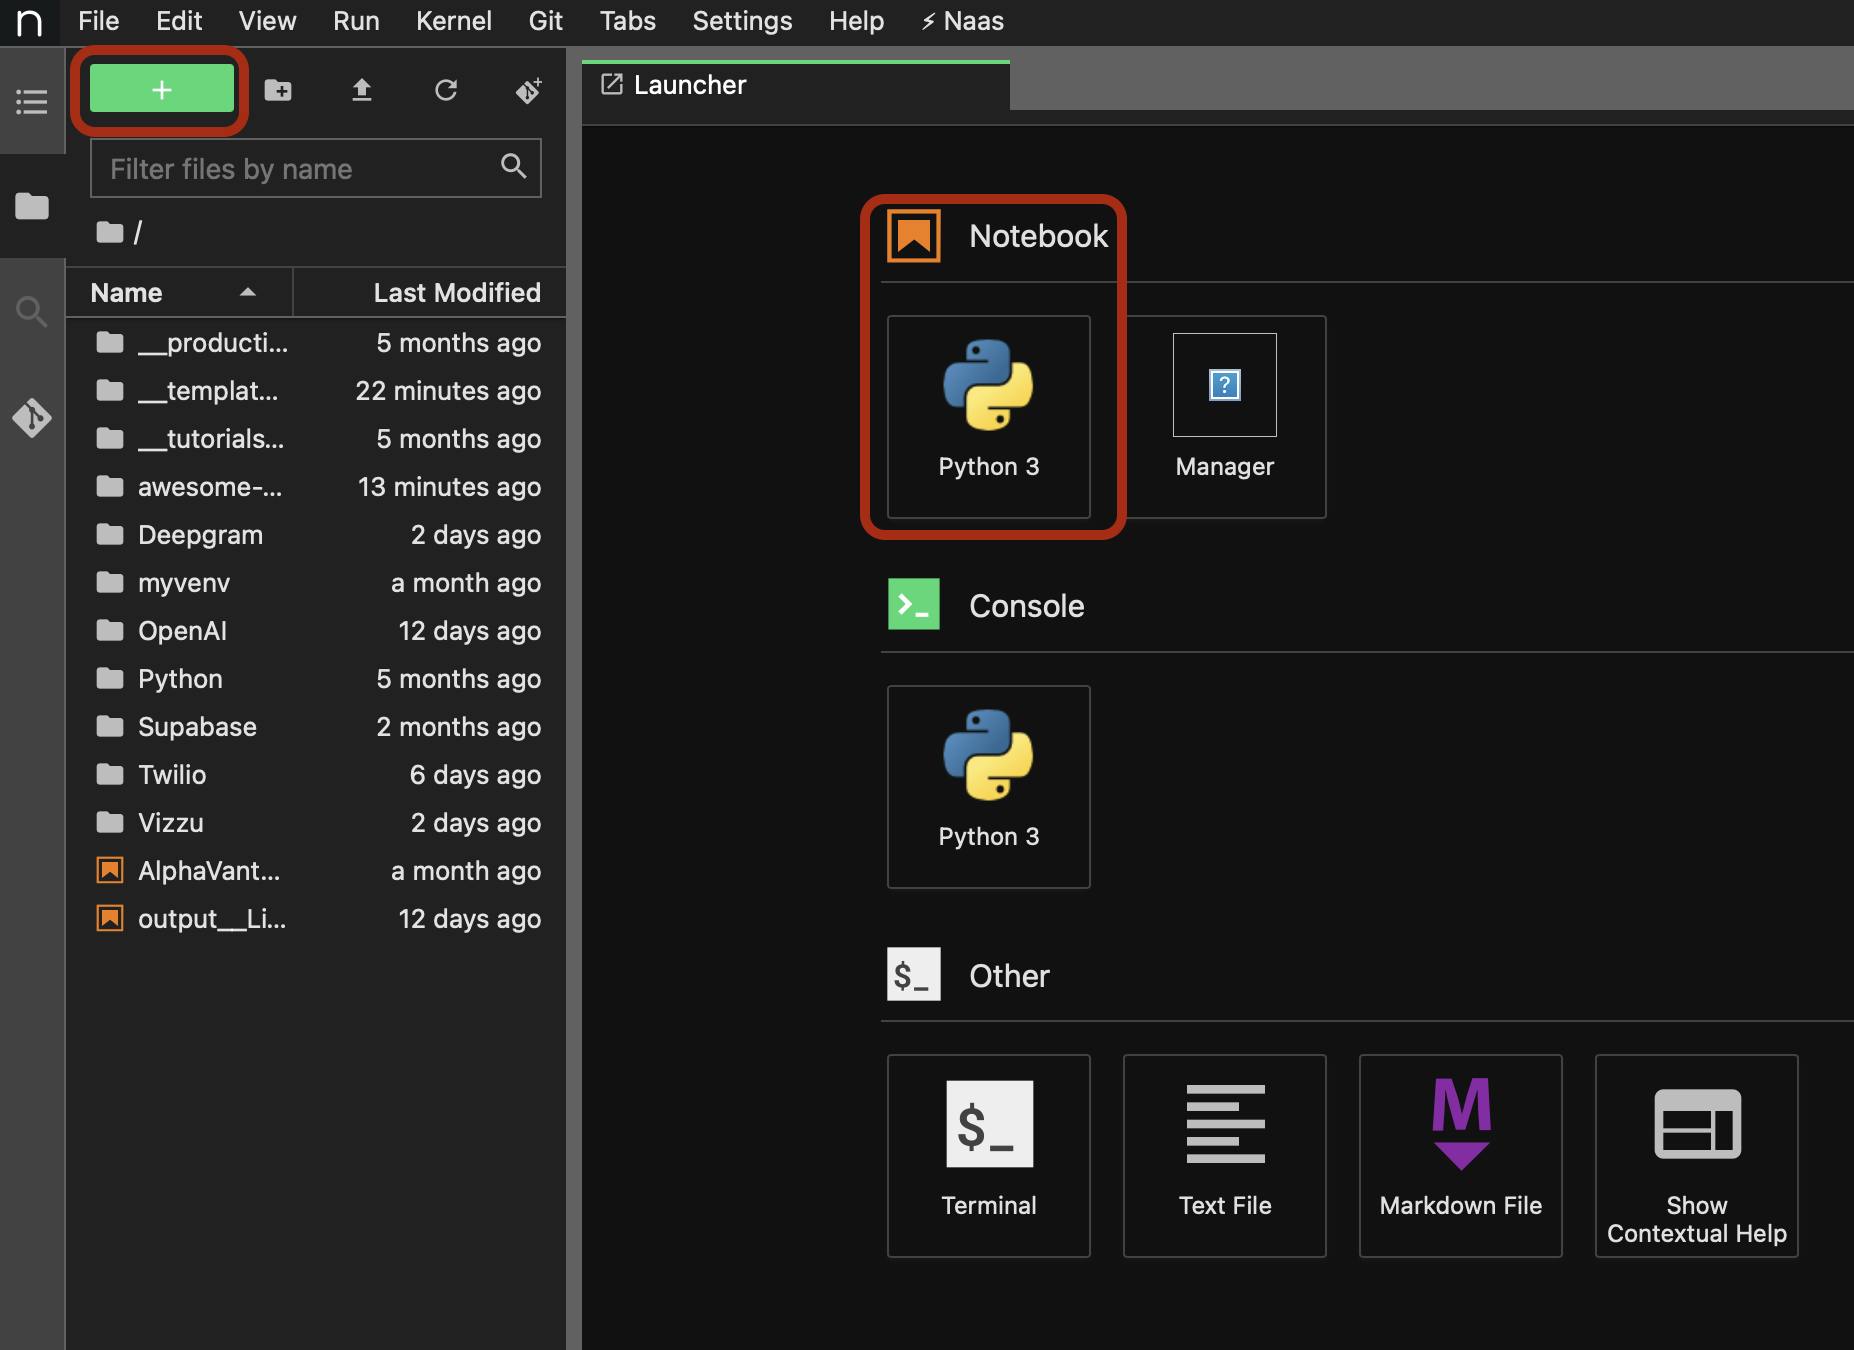
After this step, you are good to proceed further.
Setup Twilio Account
Head to http://console.twilio.com and sign up for a new account.
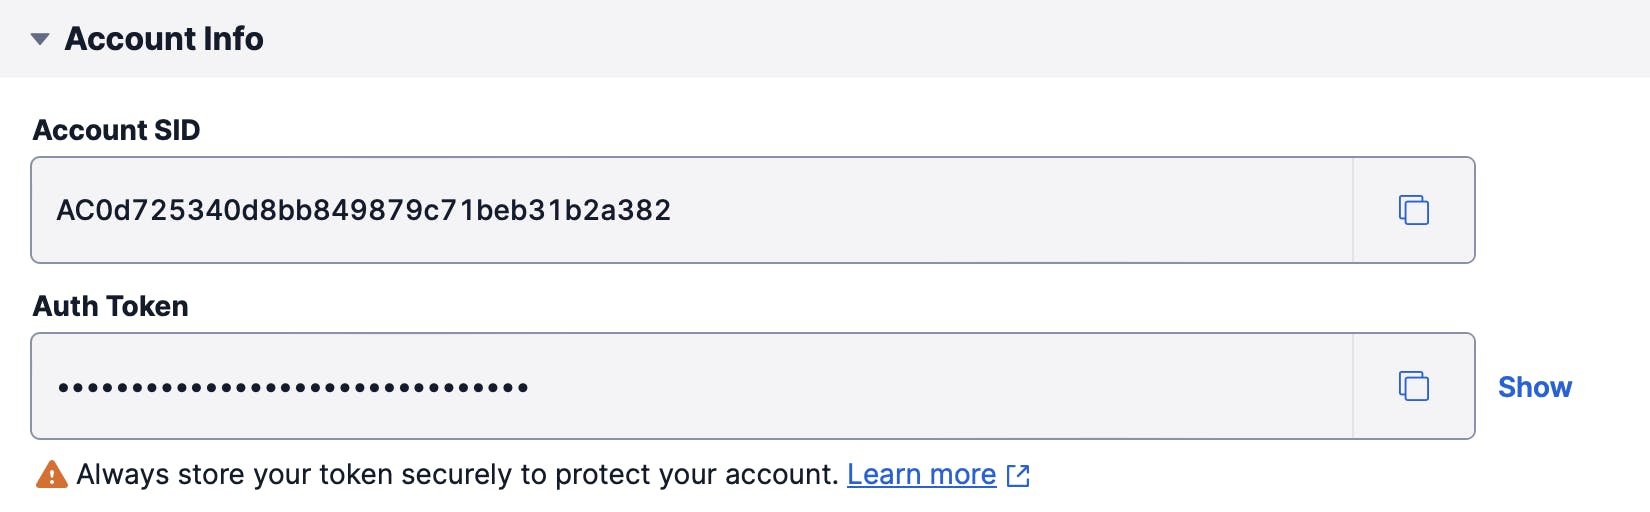
After successful login, copy the Account SID and Auth token and store them in a safe place, thanks to the Naas secrets feature.
Then get a new Twilio phone number. This guide helps you to get a new one.
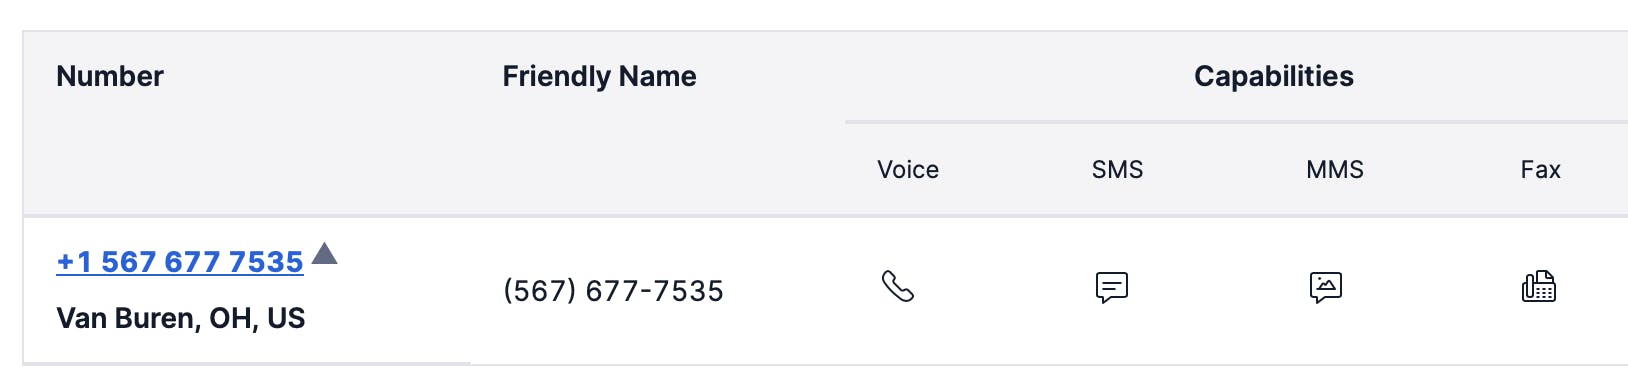
Then verify your phone number from the Twilio dashboard because, for a free trial account, Twilio allows you to send messages and make calls only to the verified numbers.
Make sure to save: the Twilio account sid, auth token, and phone number as it will be needed in steps further.
Getting credentials from the Google Cloud
This is one of the most important steps and make sure to perform the steps in the same order to avoid committing any mistakes.
Head to http://console.cloud.google.com and click on the drop-down and select `New Project`.


Give a unique name to create a new free cloud project
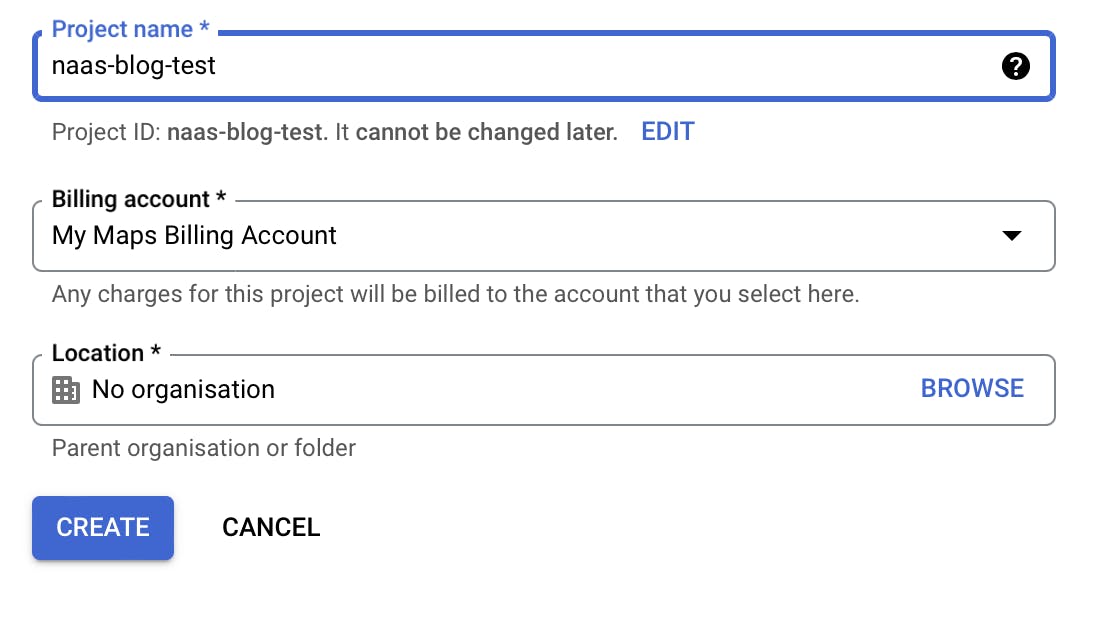
It takes some time to allocate the resources for the project. So make sure to wait for some time until the project is established successfully.
On the left panel click on
API & Servicestab and enable Google Calendar API.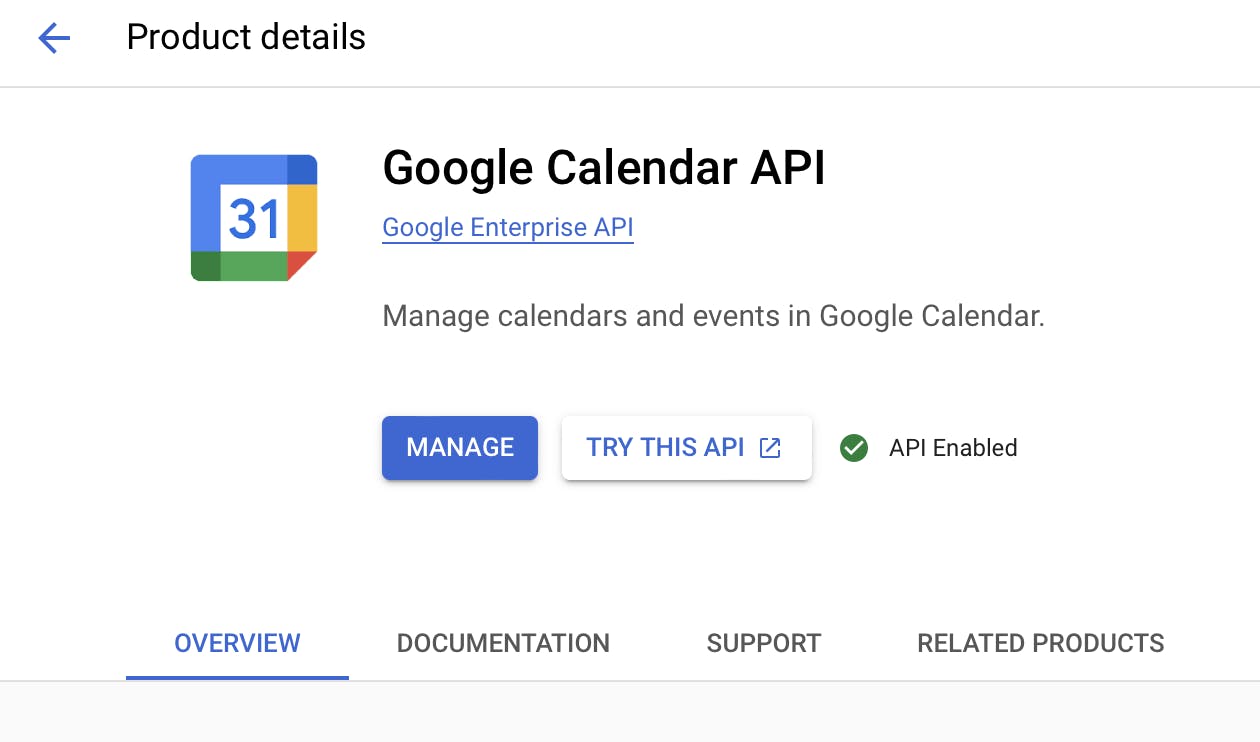
Make sure that it has
API Enabledand has a green tick.Click on
Manage, then navigate toCredentialson the left pane and create a selectCreate Credentials -> OAuth Client ID. Follow Step-4 in this guide for further reference. If you are prompted toConfigure the consent screenthen follow these steps:Choose the
User typeasExternal: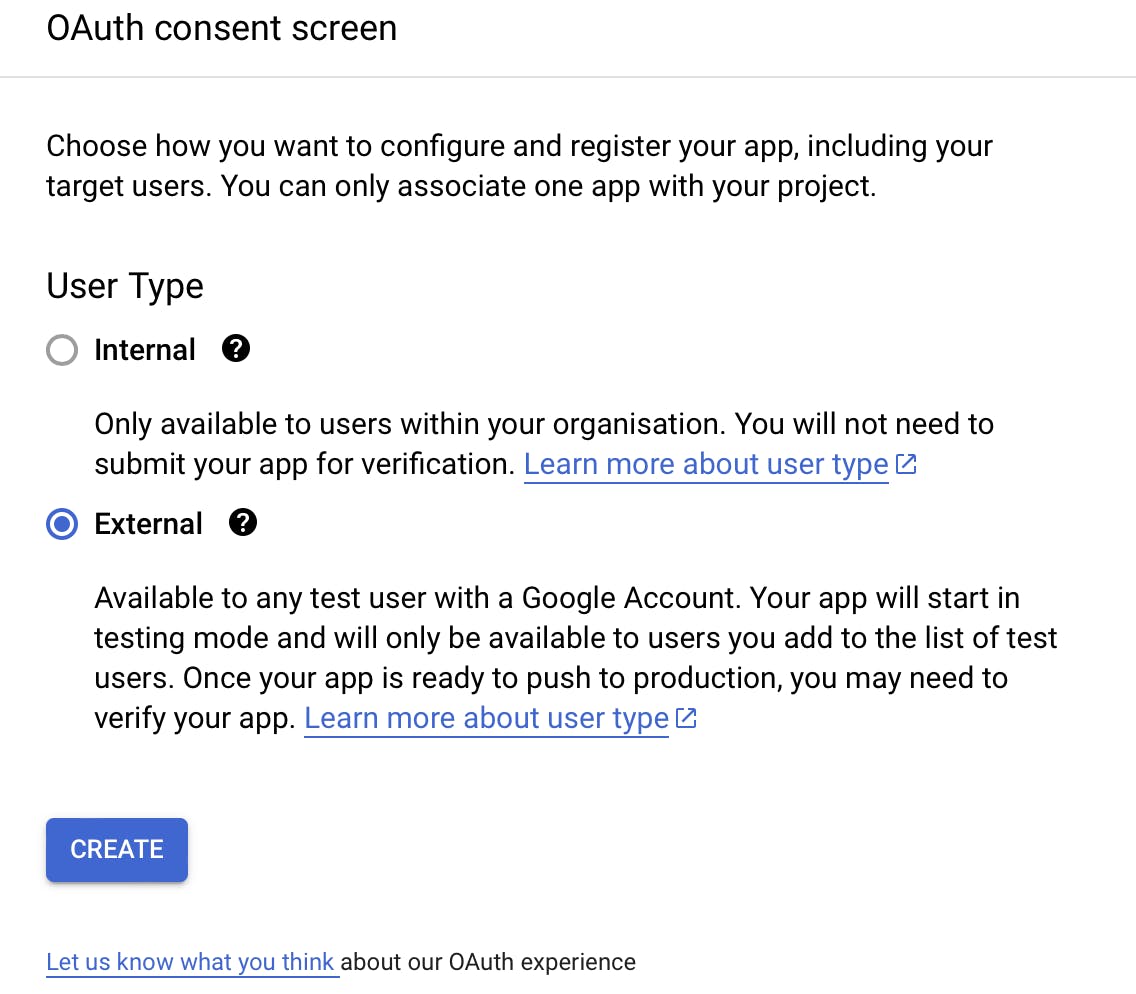
Then fill in the mandatory fields like
App name,User support email, andEmail addressesare at the bottom.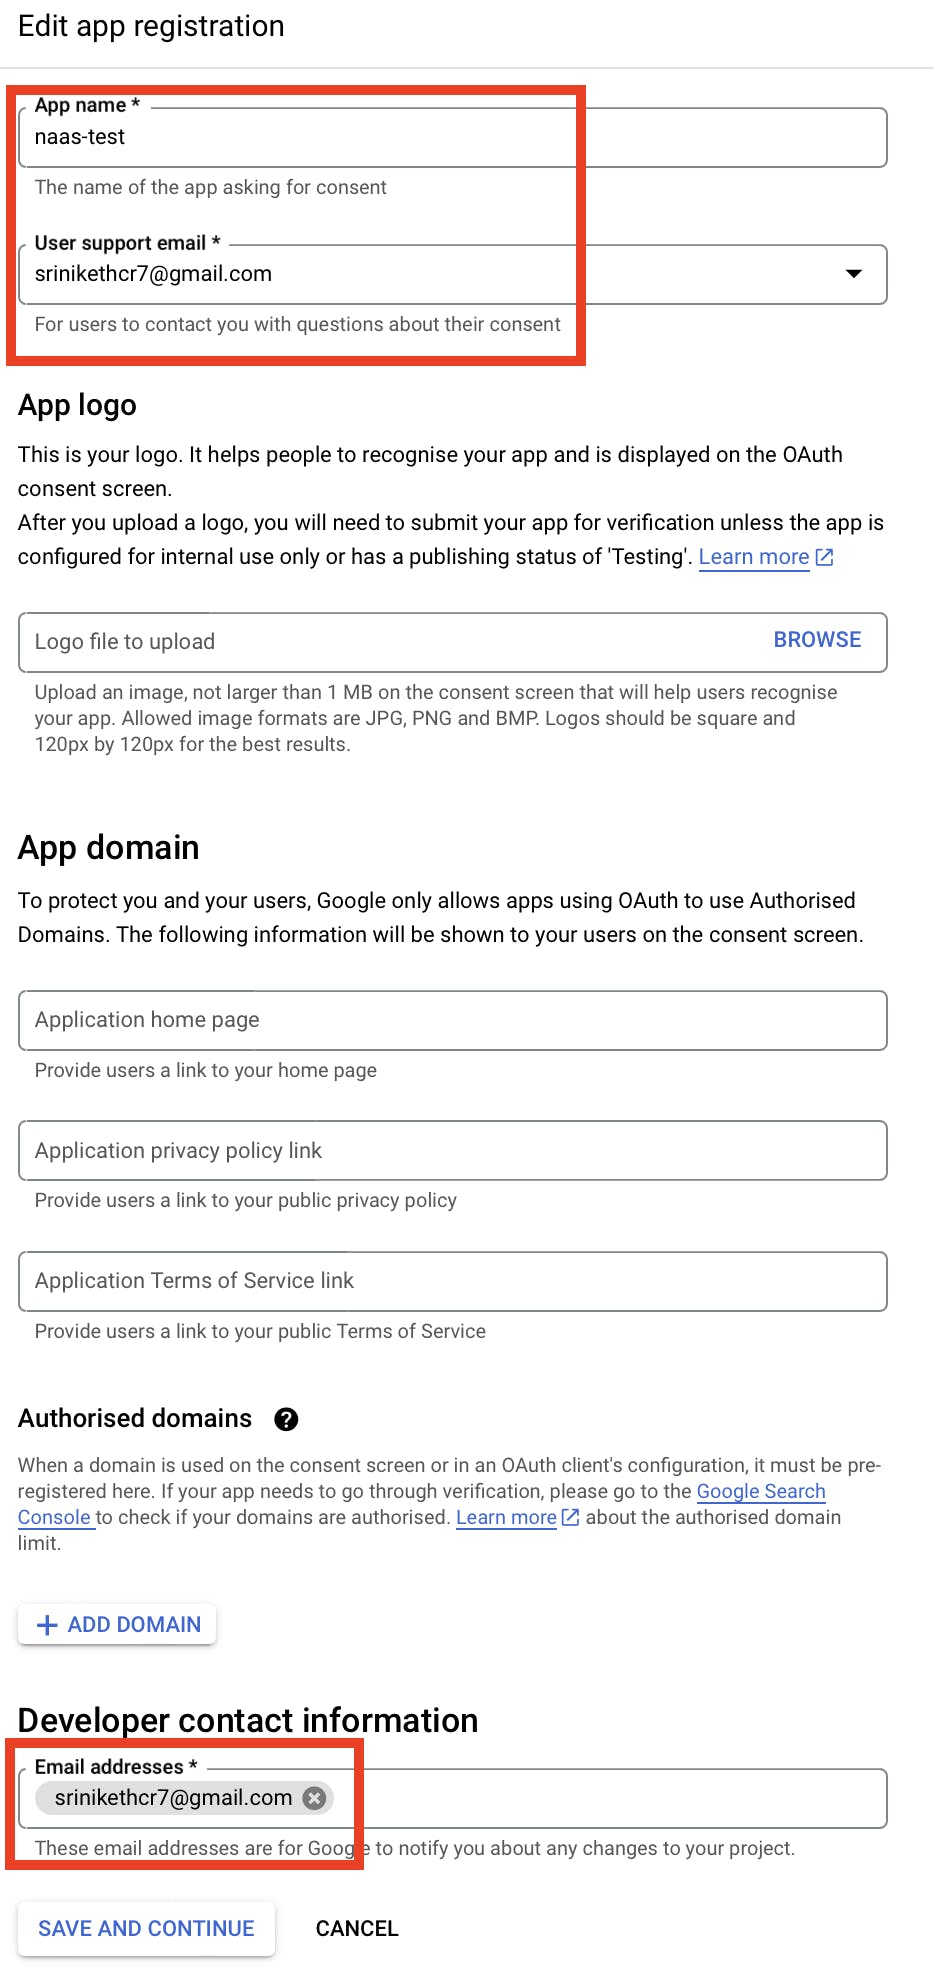
Then click on
SAVE AND CONTINUEand move to the next step.Then click on
Add or remove scopesand select the correct scope for this we shall require Google Calendar/auth/calendarscope. If they are different feel free to choose the one's according to your project. Also, they can be modified even after they are created.
Then select
Updatebutton.Then click on
Save and continueuntil you reachBack to dashboard. Then proceed with steps ahead.
Click
Application type -> Desktop app. In the name field, make sure to give it a unique name.Click
Create. The OAuth client-created screen appears, showing your newClient IDandClient secret.Save the downloaded JSON file as
secrets.json. It should like something similar (not the same actually)👇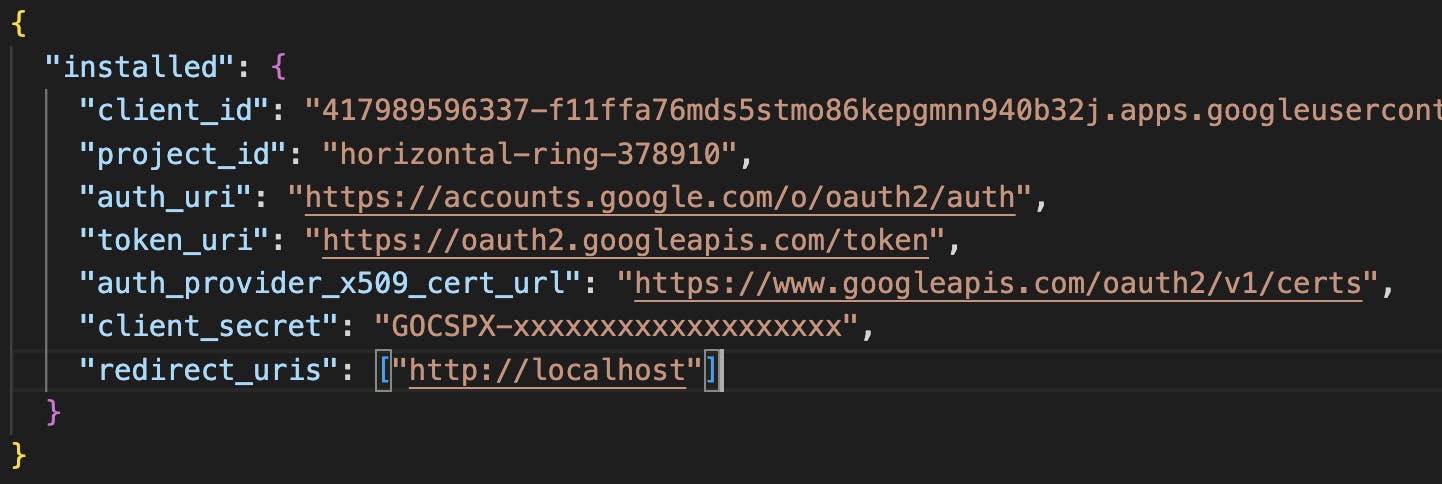
Then download the
.jsonfile generated and store it in the same directory of the notebook inside the Naas platform.
Then you are all set to proceed further 🚀
Running the script
You can find the template here. You can download it and upload it on the Naas platform. You don't need to have any local setup requirements as Naas is cloud-based and it's taken care of by the platform.
Then you need to place the secrets.json in the same directory as the notebook. All then you need to do is replace the input variables with your values which you might have stored in the Naas platform using the secret feature or any other place where you have stored the file. Then you could run the notebook as shown in the demo.
If you don't face any errors then pat yourself. You have done a great job and learned about twilio sms service, the google cloud platform, and dealing with google calendar API, working on Naas platforms and using its features like secret, templates, and IMO framework. Thanks for staying till the end, if you like our work then give us a star and feel free to contribute to the templates if you have any interesting use cases on your mind create a new issue or pick up issues and let's take it forward from there.